So, you’ve been racking your brain trying to come up with the perfect gift idea for that special someone in your life. Well, look no further! In this comprehensive guide, we will take you through the step-by-step process of creating a personalized and thoughtful gift basket. Whether you’re a seasoned DIY pro or a complete novice, we’ve got you covered. From selecting the perfect theme to assembling the perfect contents, this guide will equip you with everything you need to know to make a gift basket that will bring a smile to anyone’s face. So, grab your creativity and let’s get started on this exciting gift-giving adventure!
Choosing the Right Basket
When making a gift basket, one of the first things you need to consider is the type of basket you want to use. The basket you choose will not only serve as the foundation for your gift, but it will also contribute to the overall look and feel of the finished product.
Consider the recipient’s style
Before selecting a basket, think about the recipient’s personal style. Are they traditional or modern? Do they prefer rustic or elegant designs? By considering their style preferences, you can choose a basket that fits their taste and makes the gift feel more personalized.
Choose a basket size that will fit all your gift items
Next, think about the size of the basket you’ll need. It’s important to choose a basket that can comfortably fit all the items you plan to include. Consider the dimensions of the items and ensure that the basket is deep enough to hold them securely. It’s better to choose a slightly larger basket than to try to cram everything into a small one.
Opt for different basket materials
Don’t limit yourself to traditional wicker baskets. Explore different basket materials to add variety and uniqueness to your gift. There are baskets made from bamboo, fabric, metal, and even unconventional materials like recycled paper. Choosing a basket material that complements your gift items can take your gift basket to the next level.
Deciding on a Theme
Once you’ve chosen the perfect basket, it’s time to decide on a theme for your gift basket. A theme adds cohesiveness and makes the gift more thoughtful.
Choosing a theme based on the recipient’s interests
Think about the recipient’s hobbies, interests, and passions when choosing a theme. Are they a coffee enthusiast, a spa lover, or a gardening fanatic? Selecting a theme that aligns with their interests shows that you’ve put thought into creating a personalized gift.
Examples of gift basket themes
Here are some popular gift basket themes to consider:
- Gourmet Food Basket: Fill the basket with delicious treats like artisanal chocolates, gourmet cheeses, and exotic snacks.
- Bookworm’s Delight: Include a selection of their favorite books or a gift card to a bookshop, paired with cozy reading accessories like a bookmark or a mug for their favorite hot beverage.
- Spa Retreat: Pamper the recipient with luxurious bath products, scented candles, and a soft bathrobe.
- Gardening Essentials: For the green thumb in your life, fill the basket with gardening tools, seeds, and gardening gloves.
- Coffee Lover’s Basket: Include a variety of specialty coffees, a French press or coffee maker, and some delicious cookies or biscotti to enjoy with their cup of joe.
Remember, the possibilities are endless when it comes to gift basket themes. Get creative and tailor the theme to the individual preferences of your recipient.
Selecting the Gift Items
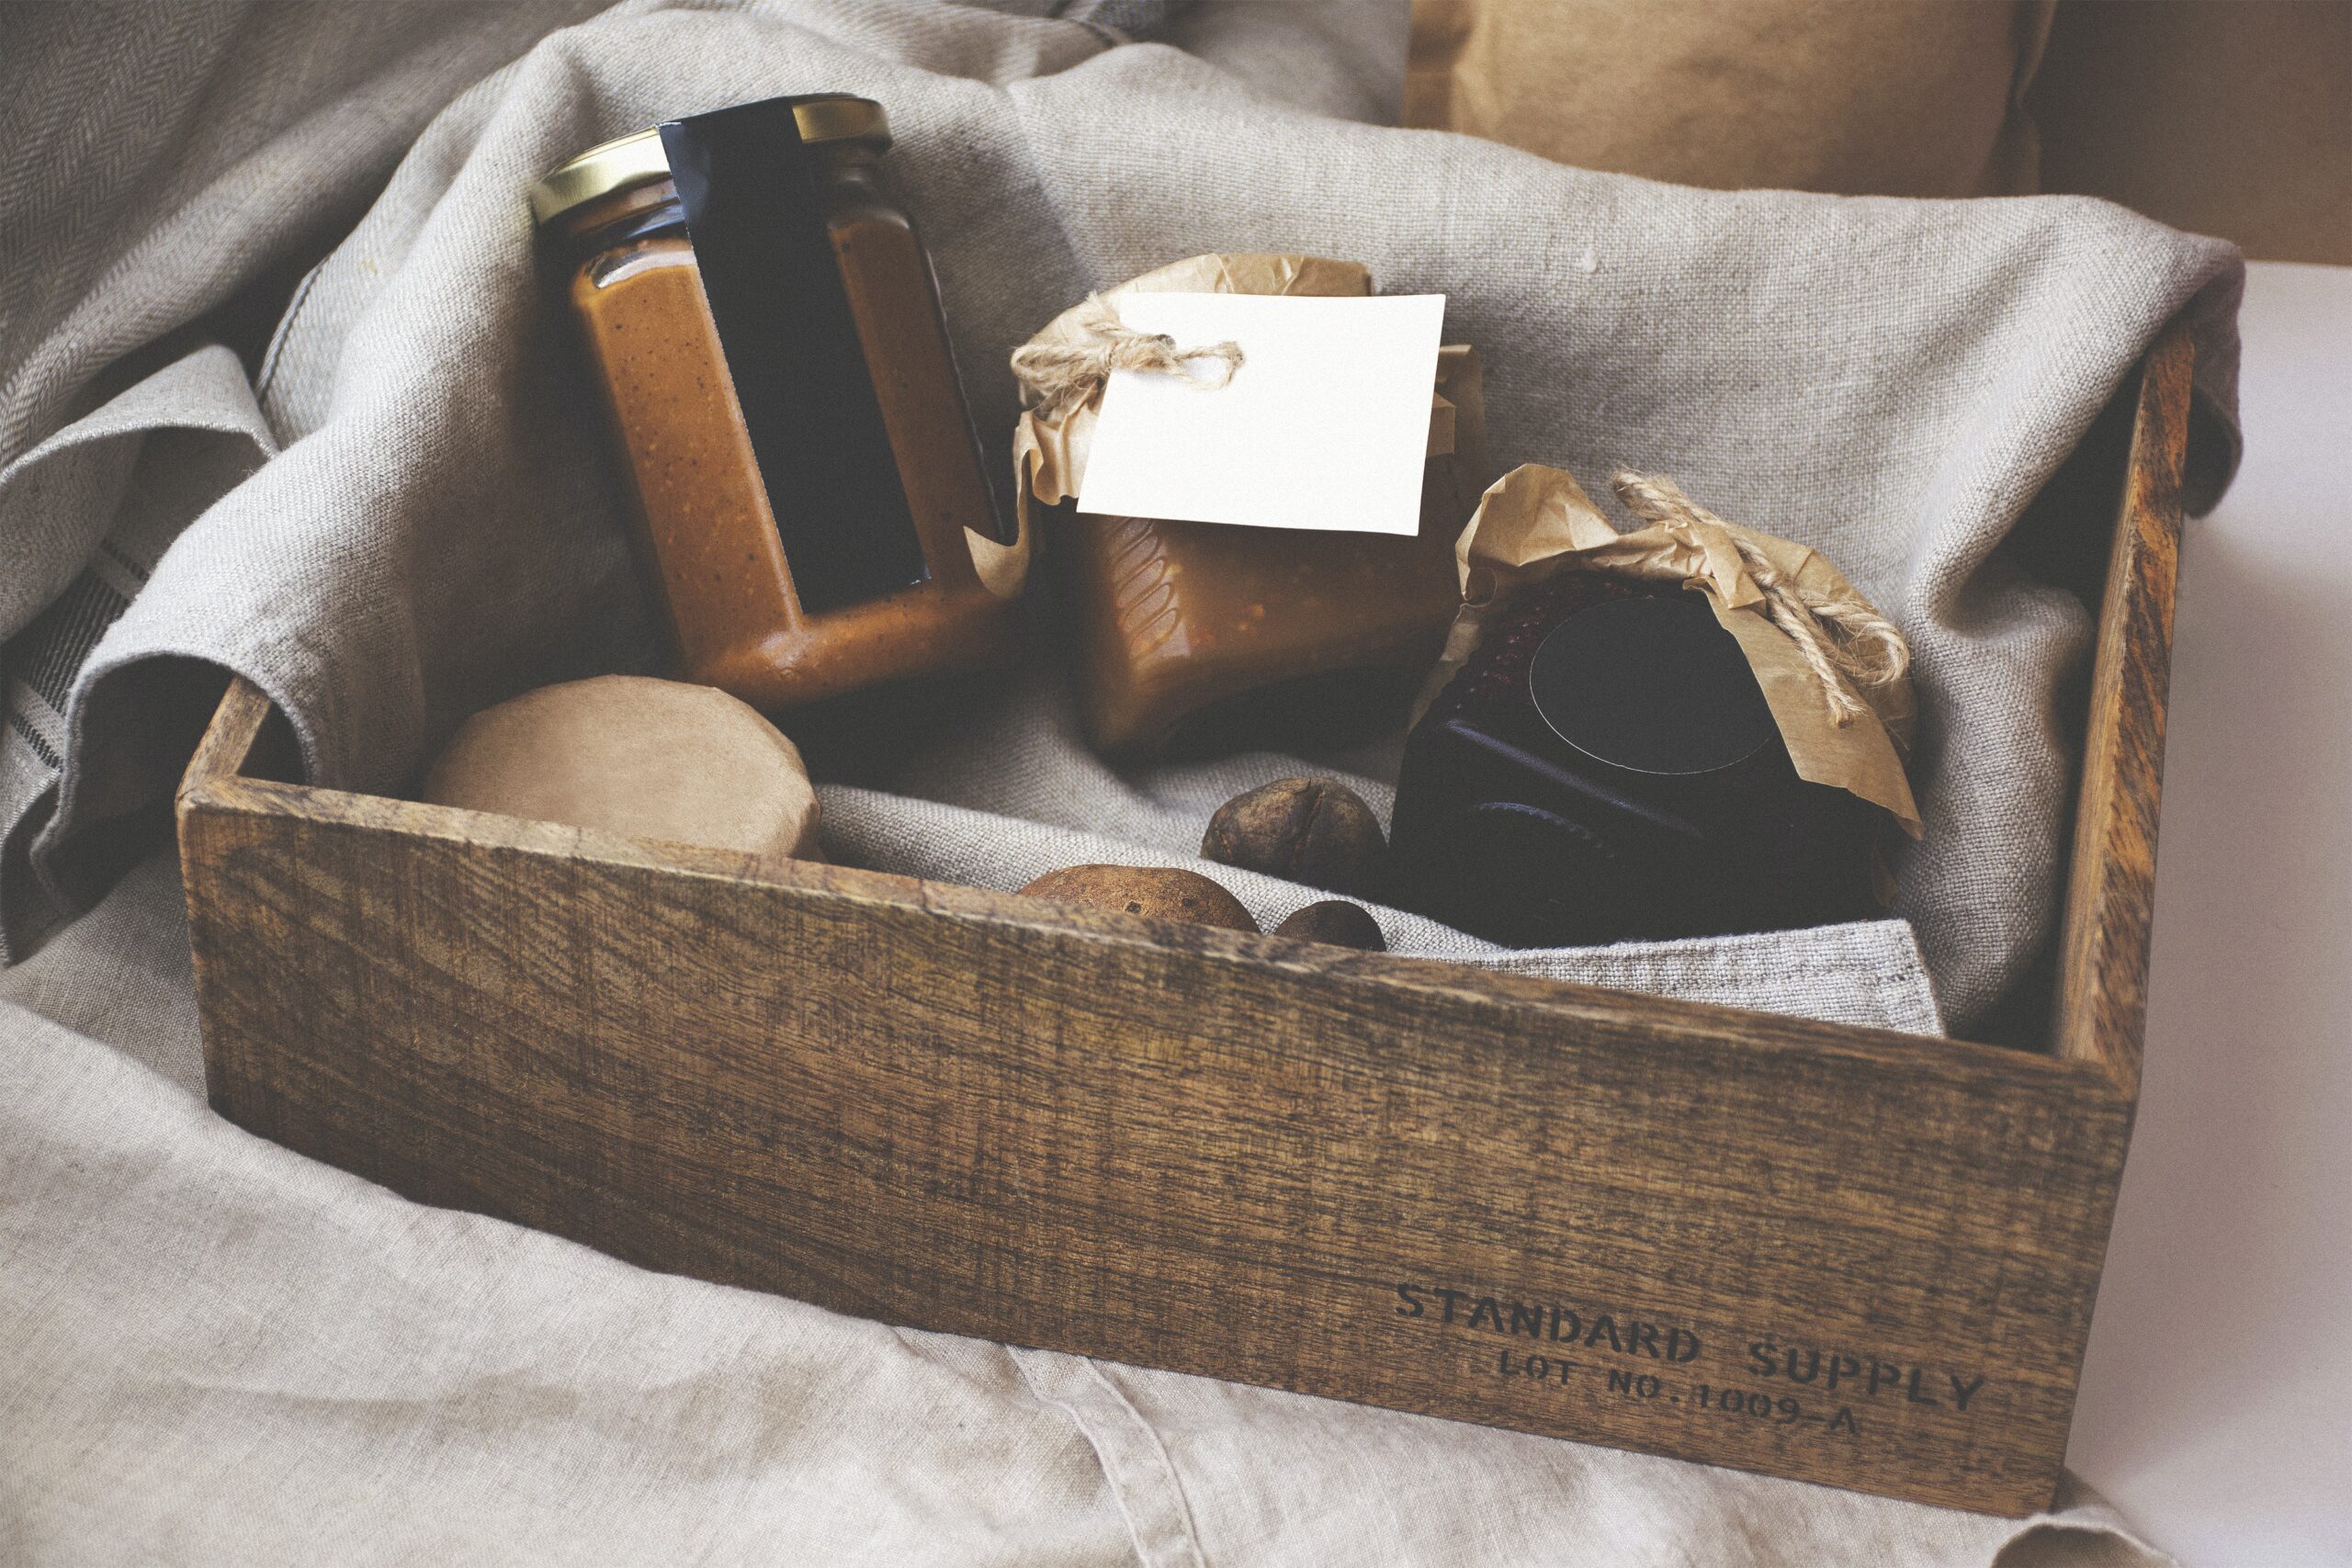
With your theme in mind, it’s time to start selecting the actual items that will go into your gift basket. This is your chance to showcase your knowledge of the recipient’s tastes and likes.
Consider the recipient’s taste and likes
Think about the recipient’s personal preferences when selecting gift items. What are their favorite flavors, scents, or activities? By choosing items that align with their tastes, you’re more likely to create a gift that they will truly appreciate.
Select items that match your chosen theme
Ensure that the items you select for the gift basket align with the chosen theme. For example, if you’re creating a spa retreat gift basket, include items like bath salts, scented candles, and a plush bathrobe. The key is to create a cohesive gift experience that brings joy and excitement to the recipient.
Consider a mix of both practical and luxury items
To create a well-rounded gift basket, consider including a mix of practical and luxury items. Practical items are useful and functional, while luxury items add a touch of indulgence and pampering. This combination will show that you’ve put thought into providing both items that are practical for everyday use and special treats that the recipient may not splurge on for themselves.
Purchasing your Items
Once you have a list of the items you want to include in your gift basket, it’s time to start purchasing them. Here are some tips to help you find the perfect items while saving money.
Where to find items for your gift basket
There are various places where you can find items for your gift basket. Local specialty stores often have a wide selection of unique and high-quality products that can elevate your gift. Online retailers and marketplaces also offer a vast array of options and convenience. Additionally, consider checking out local artisans and craftspeople who create one-of-a-kind items that can add a special touch to your gift.
Tips on saving money when buying gift items
Shopping for gift items can quickly add up, but there are ways to save money without sacrificing quality. Consider shopping during sales or in bulk to take advantage of discounts. Look for coupon codes or promotional offers from retailers. Another cost-effective option is to make some items yourself, such as homemade treats or customized DIY crafts. By being strategic and resourceful, you can create an impressive gift basket without breaking the bank.
Arranging the Items in the Basket
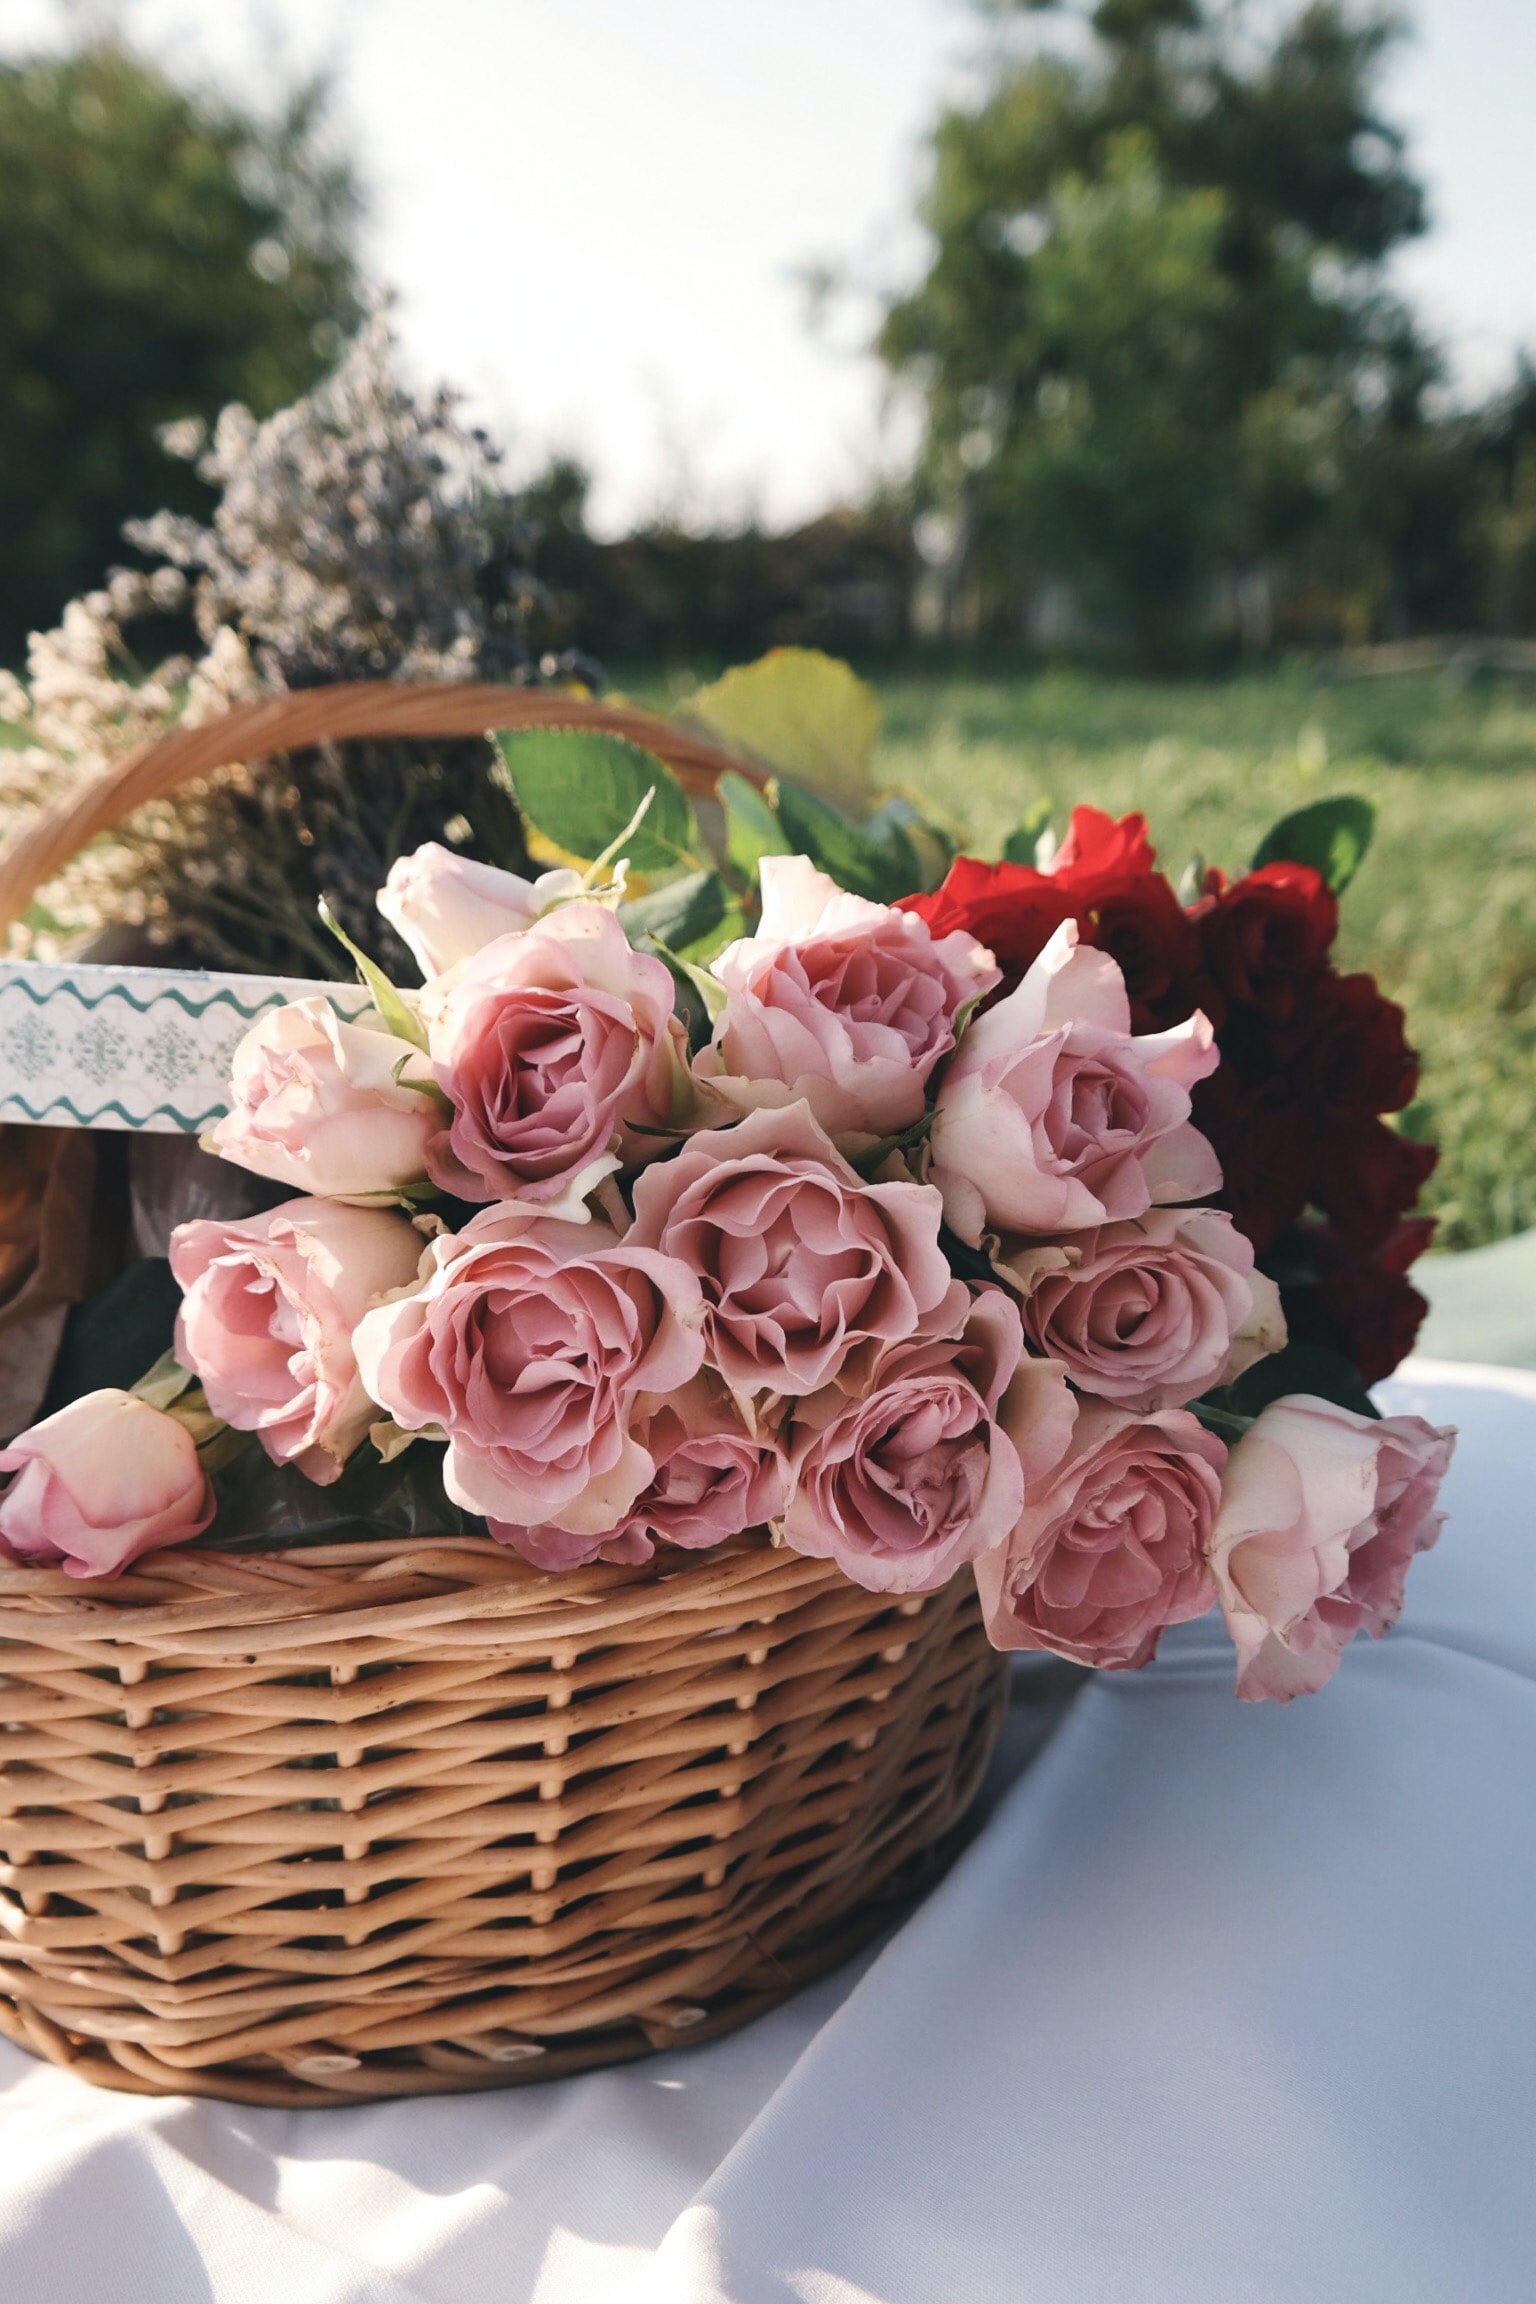
Now that you have all your gift items ready, it’s time to arrange them in the basket. The arrangement is just as important as the items themselves, as it contributes to the overall presentation and wow factor of the gift.
How to place large and small items
When arranging items in the basket, start with the larger items as the anchor points. Place them strategically in the basket to create a visually pleasing composition. Next, fill in the gaps with smaller items, ensuring that everything is balanced and well-distributed. Consider arranging items in layers to add depth and visual interest.
Creating height and balance within the basket
To create a visually appealing arrangement, vary the height of the items within the basket. Use props like tissue paper, cardboard cutouts, or even empty containers to elevate certain items and create a sense of balance. The key is to aim for a harmonious composition that captivates the recipient’s eye.
Visual composition tips
Here are some visual composition tips to create an aesthetically pleasing gift basket:
- Use the rule of thirds: Imagine dividing the basket into thirds both horizontally and vertically. Arrange items along these invisible lines to create balance and interest.
- Play with colors and textures: Mix and match different colors and textures to create visual contrast and make the gift basket more visually appealing.
- Group related items: Arrange items that are related or belong together in close proximity to create a cohesive theme.
Remember, arranging the items in the basket is where your creativity shines. Don’t be afraid to experiment and adjust until you achieve the perfect arrangement.
Securing the Items Inside
To prevent shifting and damage during transportation, it’s crucial to secure the items inside the basket. Here are some tips to ensure everything stays in place.
Using filler materials to keep items in place
Filler materials, such as shredded paper, tissue paper, or crinkle-cut paper, can help keep items stable and secure in the basket. Use them to cushion the bottom of the basket and in between the items to prevent movement. Filler materials not only serve a functional purpose but also add volume and enhance the overall presentation.
Securing items with tape or sticky putty
For items that are particularly delicate or prone to movement, consider using tape or sticky putty to secure them in place. Wrap delicate items in tissue paper and use a small piece of clear tape to hold it in position. Sticky putty can be used to adhere lightweight items to the sides of the basket for added stability.
Making sure the basket arrangement looks tidy and professional
After securing the items, take a step back and assess the overall look of the basket arrangement. Make any necessary adjustments to ensure that everything looks tidy and professional. Remove any visible tape or putty residue and neaten up any loose ends. A well-organized and professional-looking gift basket will impress the recipient and make the presentation more memorable.
Adding a Decorative Touch
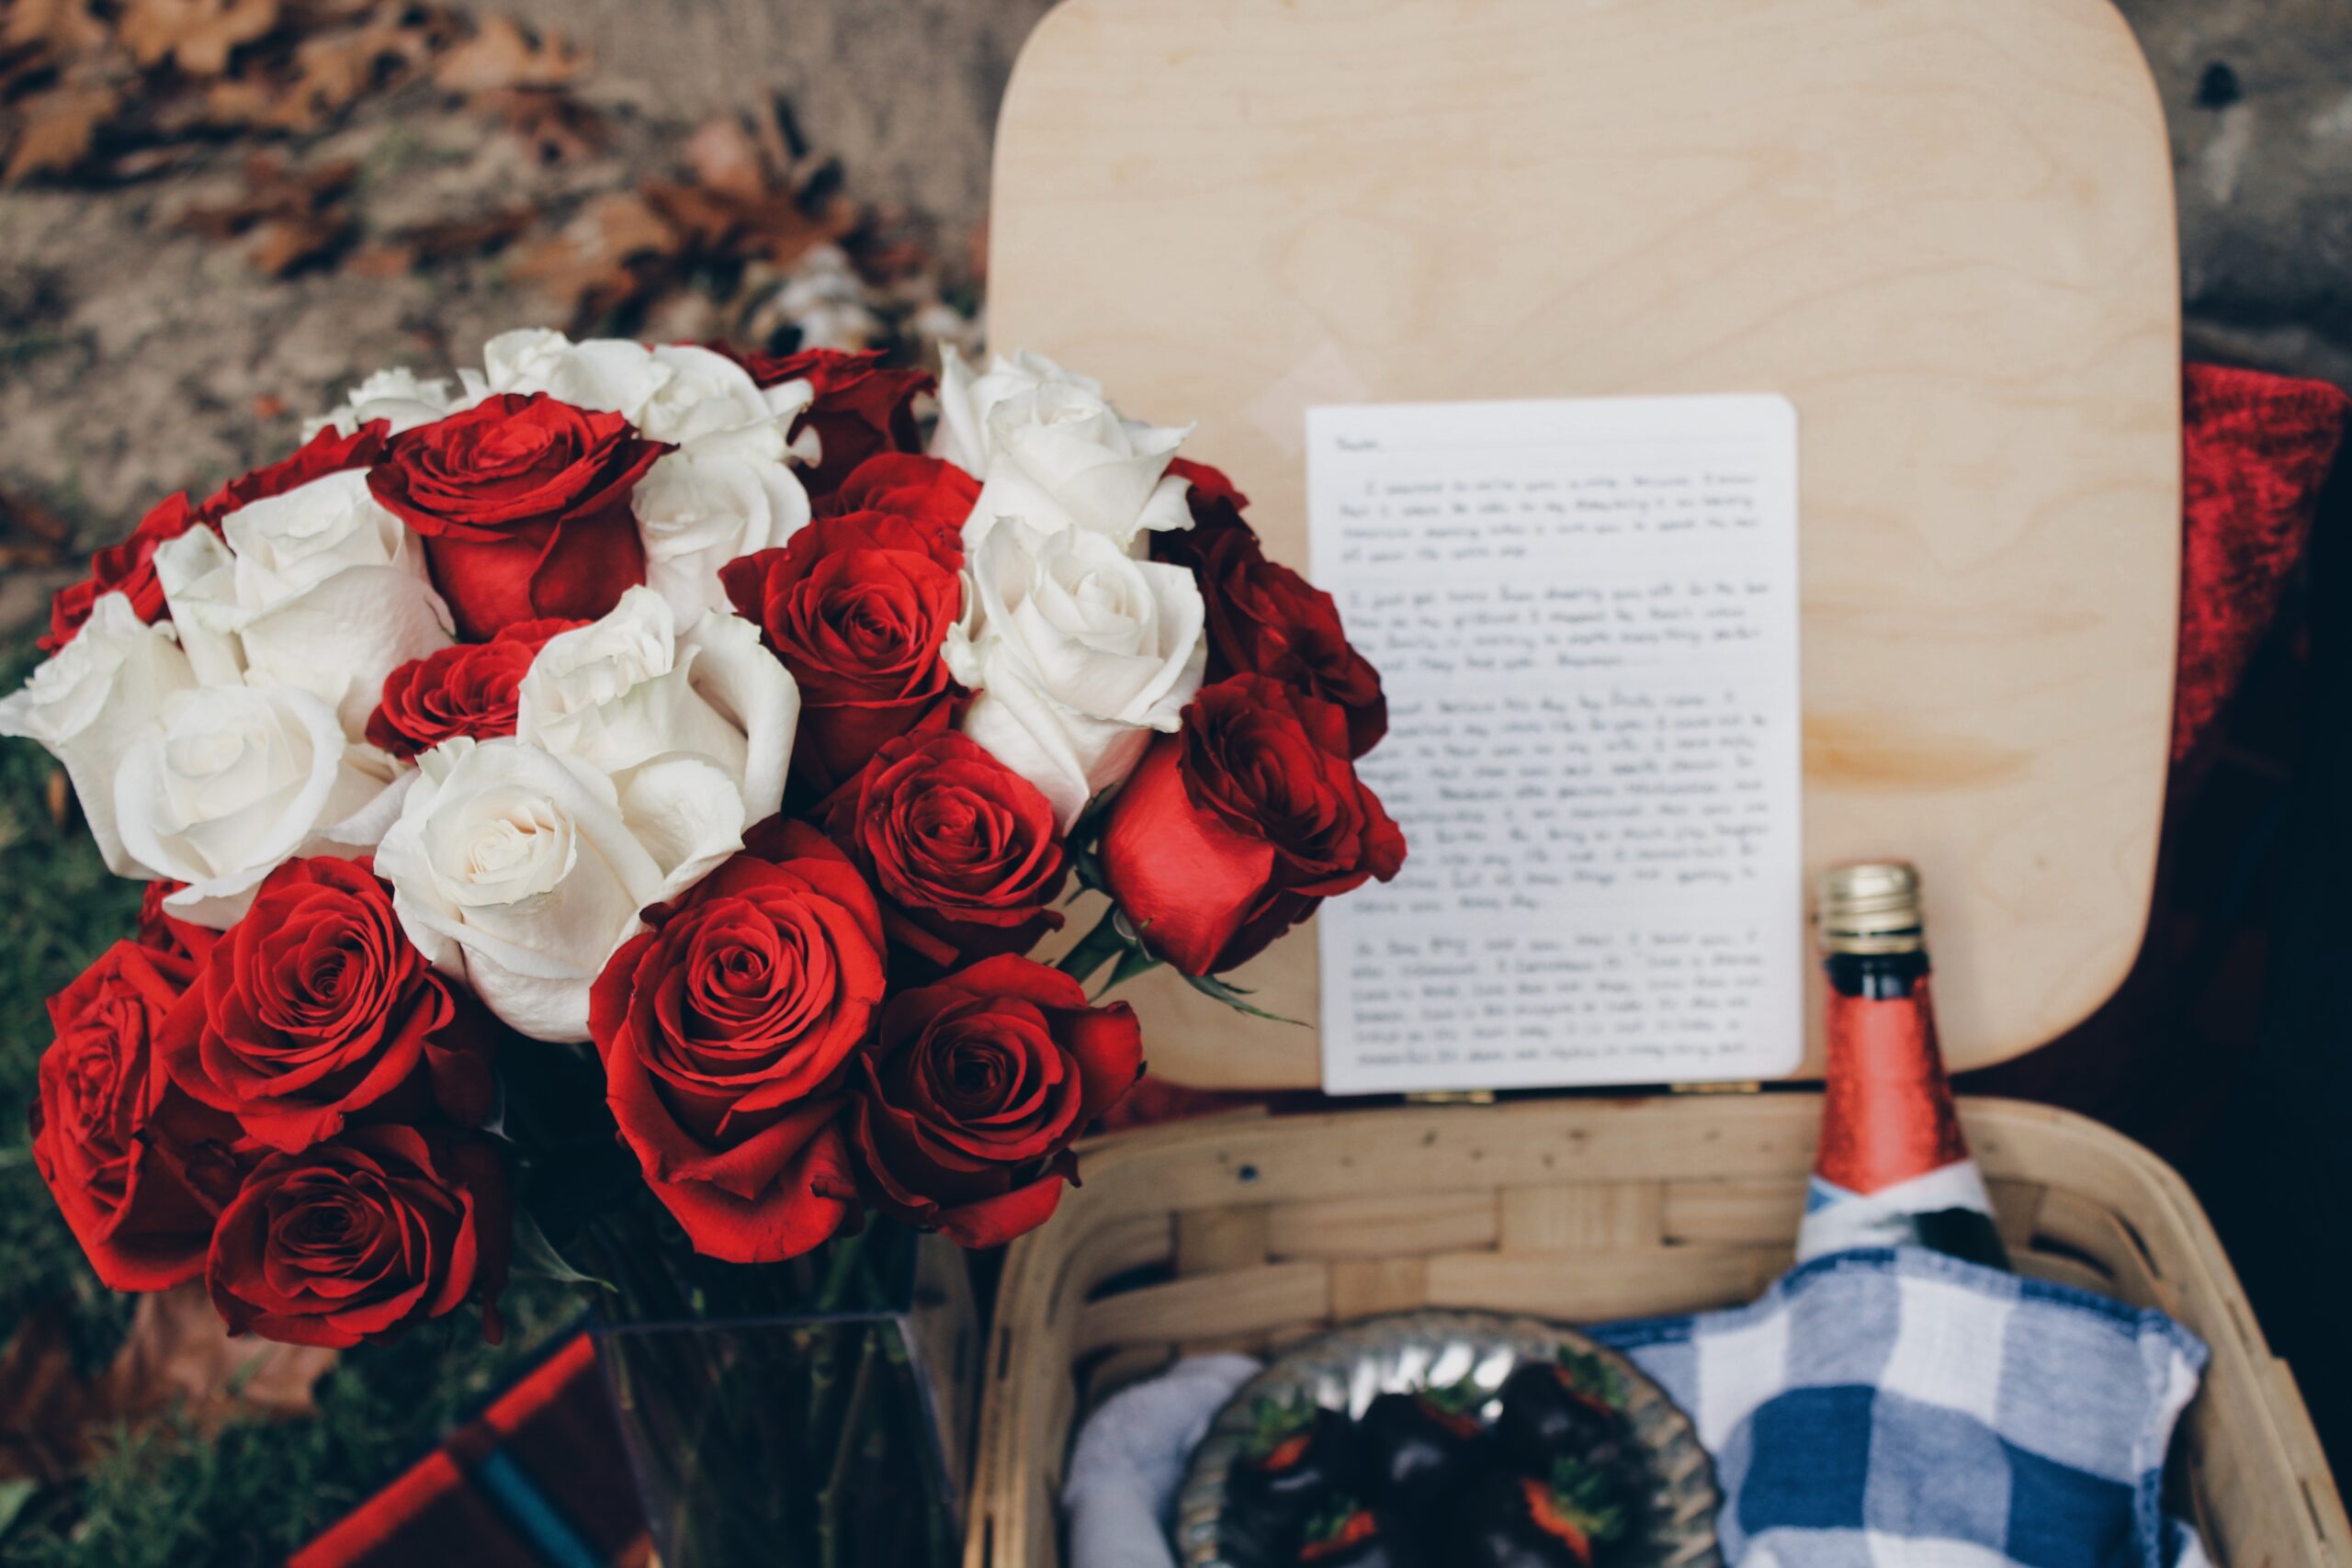
To elevate the visual appeal of your gift basket, it’s essential to add a decorative touch. The decorations you choose should tie into the theme and enhance the overall aesthetic of the gift.
Choosing the right decorations based on the basket theme
Consider the theme of your gift basket when choosing decorations. For example, if you’re creating a spa retreat gift basket, consider adding silk flowers or dried lavender as a decorative touch. If you’re making a gourmet food basket, a decorative bow made from ribbon in complementary colors can add a festive touch. The goal is to select decorations that enhance the theme and make the gift basket feel more special and thoughtfully curated.
How to tie a bow for your gift basket
Tying a bow is a simple yet effective way to add a professional and polished touch to your gift basket. To tie a bow, start by wrapping a ribbon around the basket and tying a knot. Then, create a loop with one end of the ribbon and bring the other end through the loop, forming a second loop. Tighten the bow by pulling the loops gently and adjusting them until you’re happy with the shape. Trim the ribbon ends into decorative angles or curls for an extra flourish.
Adding finishing touches like tags and ribbons
After tying the bow, consider adding additional finishing touches like gift tags or personalized messages. Attach a tag with the recipient’s name or a heartfelt note to make the gift even more meaningful. You can also weave ribbons or small ornaments through the bow to further enhance the decorative appeal. These little details demonstrate the effort and care you’ve put into creating the gift basket.
Choosing the Right Wrap
To complete the gift basket, it’s essential to choose the right wrap to enclose the basket and give it a polished and cohesive look.
Different types of gift basket wrapping
There are various wrapping options to choose from when it comes to gift baskets. Some common options include cellophane, clear plastic wrap, fabric, or tulle. Each material offers a different aesthetic and level of transparency. Consider the theme and overall design of your gift basket when selecting the appropriate wrap.
Choosing a wrap that matches your theme and basket
Select a wrap that matches the theme and basket materials. For example, if your basket has a rustic feel, consider using burlap or natural-colored fabric to wrap it. If your basket is more elegant and sophisticated, opt for a clear plastic wrap or cellophane to showcase the items inside. The wrap should not only complement the theme but also protect the items and maintain their arrangement.
Wrapping the Basket
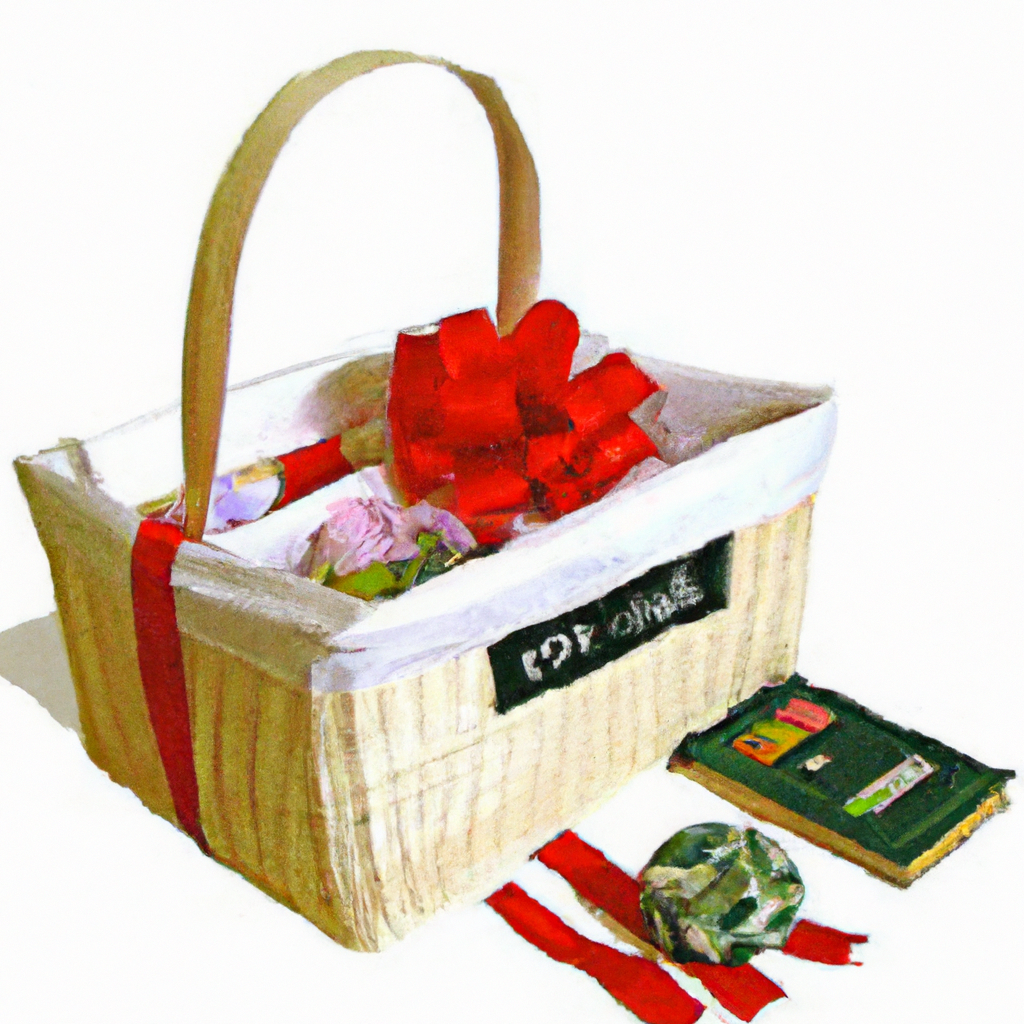
Once you have chosen the wrap, it’s time to wrap the basket. Follow these step-by-step instructions to achieve a clean and secure wrap.
Step-by-step guide to wrapping the basket
- Start by placing the basket in the center of the chosen wrap material.
- Gently gather the material at one side of the basket and pull it up and over the top, covering the items inside.
- Repeat this process on the opposite side, overlapping the previous side slightly to ensure full coverage.
- Continue gathering and folding the sides of the material upwards until the entire basket is covered.
- Once the basket is covered, secure the wrap by tying a ribbon or using a twist tie or tape.
- Adjust the wrap as needed to ensure a snug fit and smooth appearance.
Tips to make sure the wrap is secure and tidy
To ensure the wrap is secure and tidy, consider the following tips:
- Use clear tape or a twist tie to secure the wrap at the top of the basket.
- Smooth out any wrinkles or folds in the wrap to create a neat and professional appearance.
- Trim any excess wrap material, ensuring that the bottom of the basket is fully covered.
Taking the time to wrap the basket properly will give the gift a polished and finished look.
Presenting the Basket
The moment you present the gift basket is just as important as the gift itself. Follow these tips to make the presentation memorable and meaningful.
When and how to give the gift basket
Choose a moment that is significant to the recipient to present the gift basket. This could be a special occasion like a birthday or anniversary, or simply a day when you want to show appreciation and love. Consider presenting the gift basket in person whenever possible, as it allows you to share the joy and excitement with the recipient.
What to say when presenting the gift
When presenting the gift basket, express your heartfelt sentiments and explain why you chose the specific theme and items. Share how much thought and effort you put into creating the gift and express your hopes that it brings joy and happiness to the recipient. A sincere and personalized message will make the gift basket even more special.
Following up after giving the basket
After giving the gift basket, it’s always a thoughtful gesture to follow up and inquire about the recipient’s reaction. Send a text, call, or meet up to see how they are enjoying the gift. This simple act shows that you genuinely care and adds a personal touch to the experience.
In conclusion, creating a gift basket is a wonderful way to show someone that you care. By choosing the right basket, theme, and items, and taking care in arranging and wrapping the basket, you can create a personalized and thoughtful gift that will bring joy to the recipient. The effort and thoughtfulness put into creating a gift basket will be greatly appreciated, making it a fantastic choice for any occasion. So go ahead, get creative, and start making your own unique gift basket to delight your loved ones.
